First run
A short test case that touches every part of TraCell. It takes about five minutes with any video of cells flowing
through a channel (.avi, .mp4 or .cine).
1. Open a video
File > Open (Ctrl+O). Scrub with the slider or press Space to play. View > Select ROI crops to the channel if the frame holds more than that.
2. Find the cells
- Tools > Mask Settings: pick the background method (MOG2 is a good start) and raise or lower the threshold until moving cells are white and the channel is black. Tools > Show Mask shows the mask next to the video.
- Tools > Contours Settings: set the smallest and largest area so that debris and clumps are left out.
Changed too much? Edit > Undo (Ctrl+Z) takes back settings changes one step at a time.
3. Track
Open Tools > Tracker Settings and press Track. The progress shows in the status bar and Esc stops early; what was tracked so far is kept. Traces appear over the video when it finishes.
4. Analyse
Tools > Cell Trajectories opens the post-processing window.
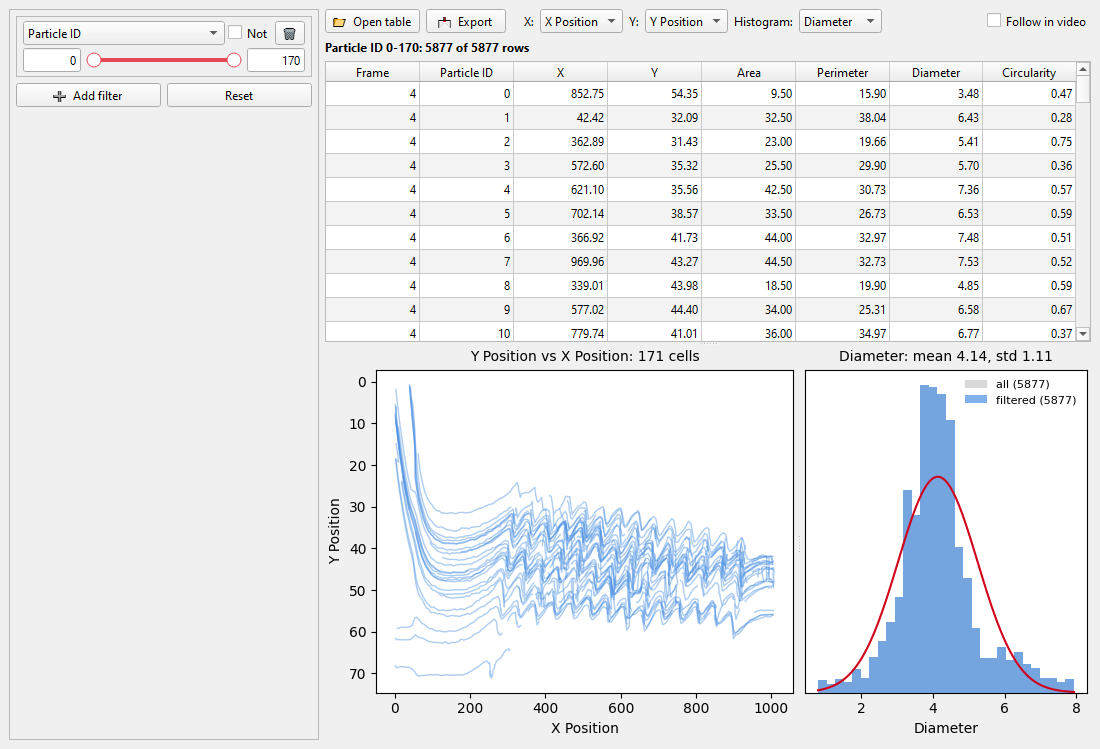
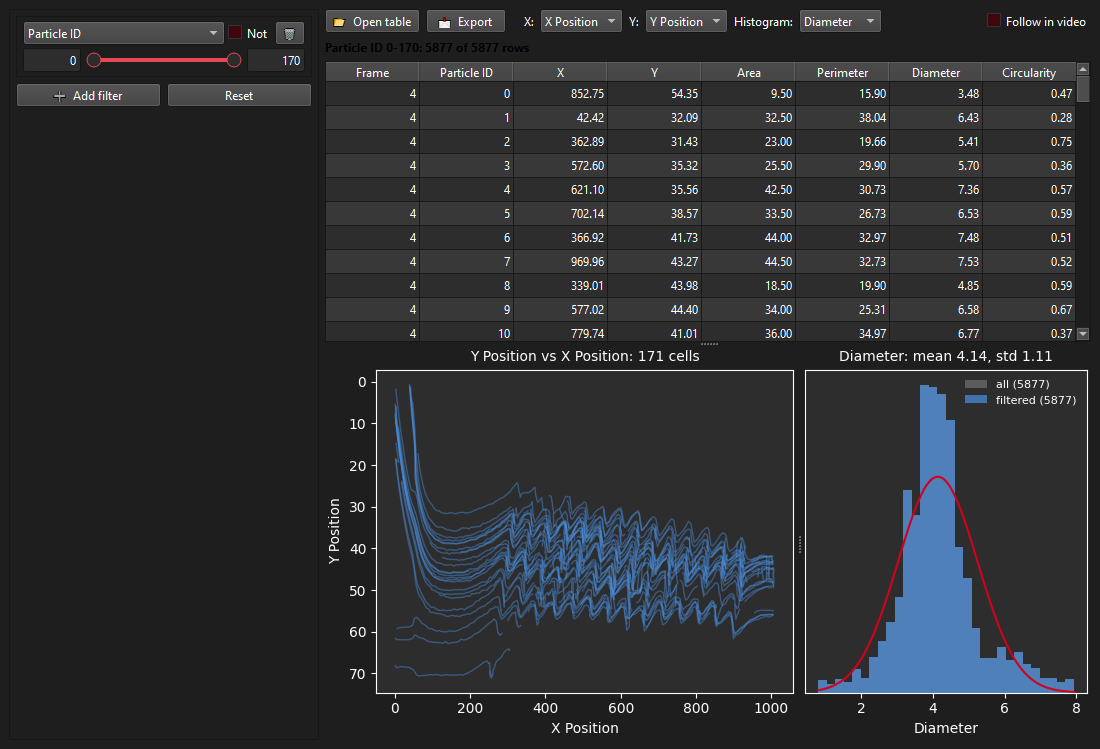
- Click a column header to sort.
- Add filter, pick a column and drag the two handles: the table, the plot and the histogram follow.
- Click a point in the plot or a row in the table to select a cell. Double-click to jump the video there.
5. Export
File > Export (Ctrl+E), or Export in the post-processing window to export only the filtered rows.
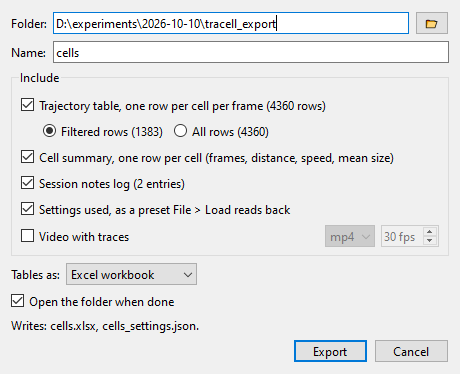
Tick what you want and press Export. Everything lands in one folder under one name: the trajectory table, a summary with one row per cell, your session notes, the settings as a preset that File > Load reads back, and the video with traces.
6. Keep your settings
File > Save writes the current settings to a preset file. Load it next time and you are back where you were.
Live tracking
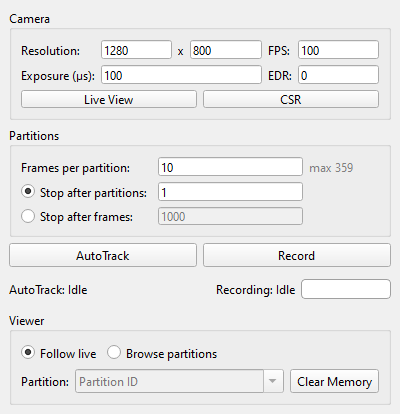
With a Phantom camera connected: Tools > Live Tracking. Set the resolution, frame rate and frames per partition, check the picture with Live View, then press AutoTrack.